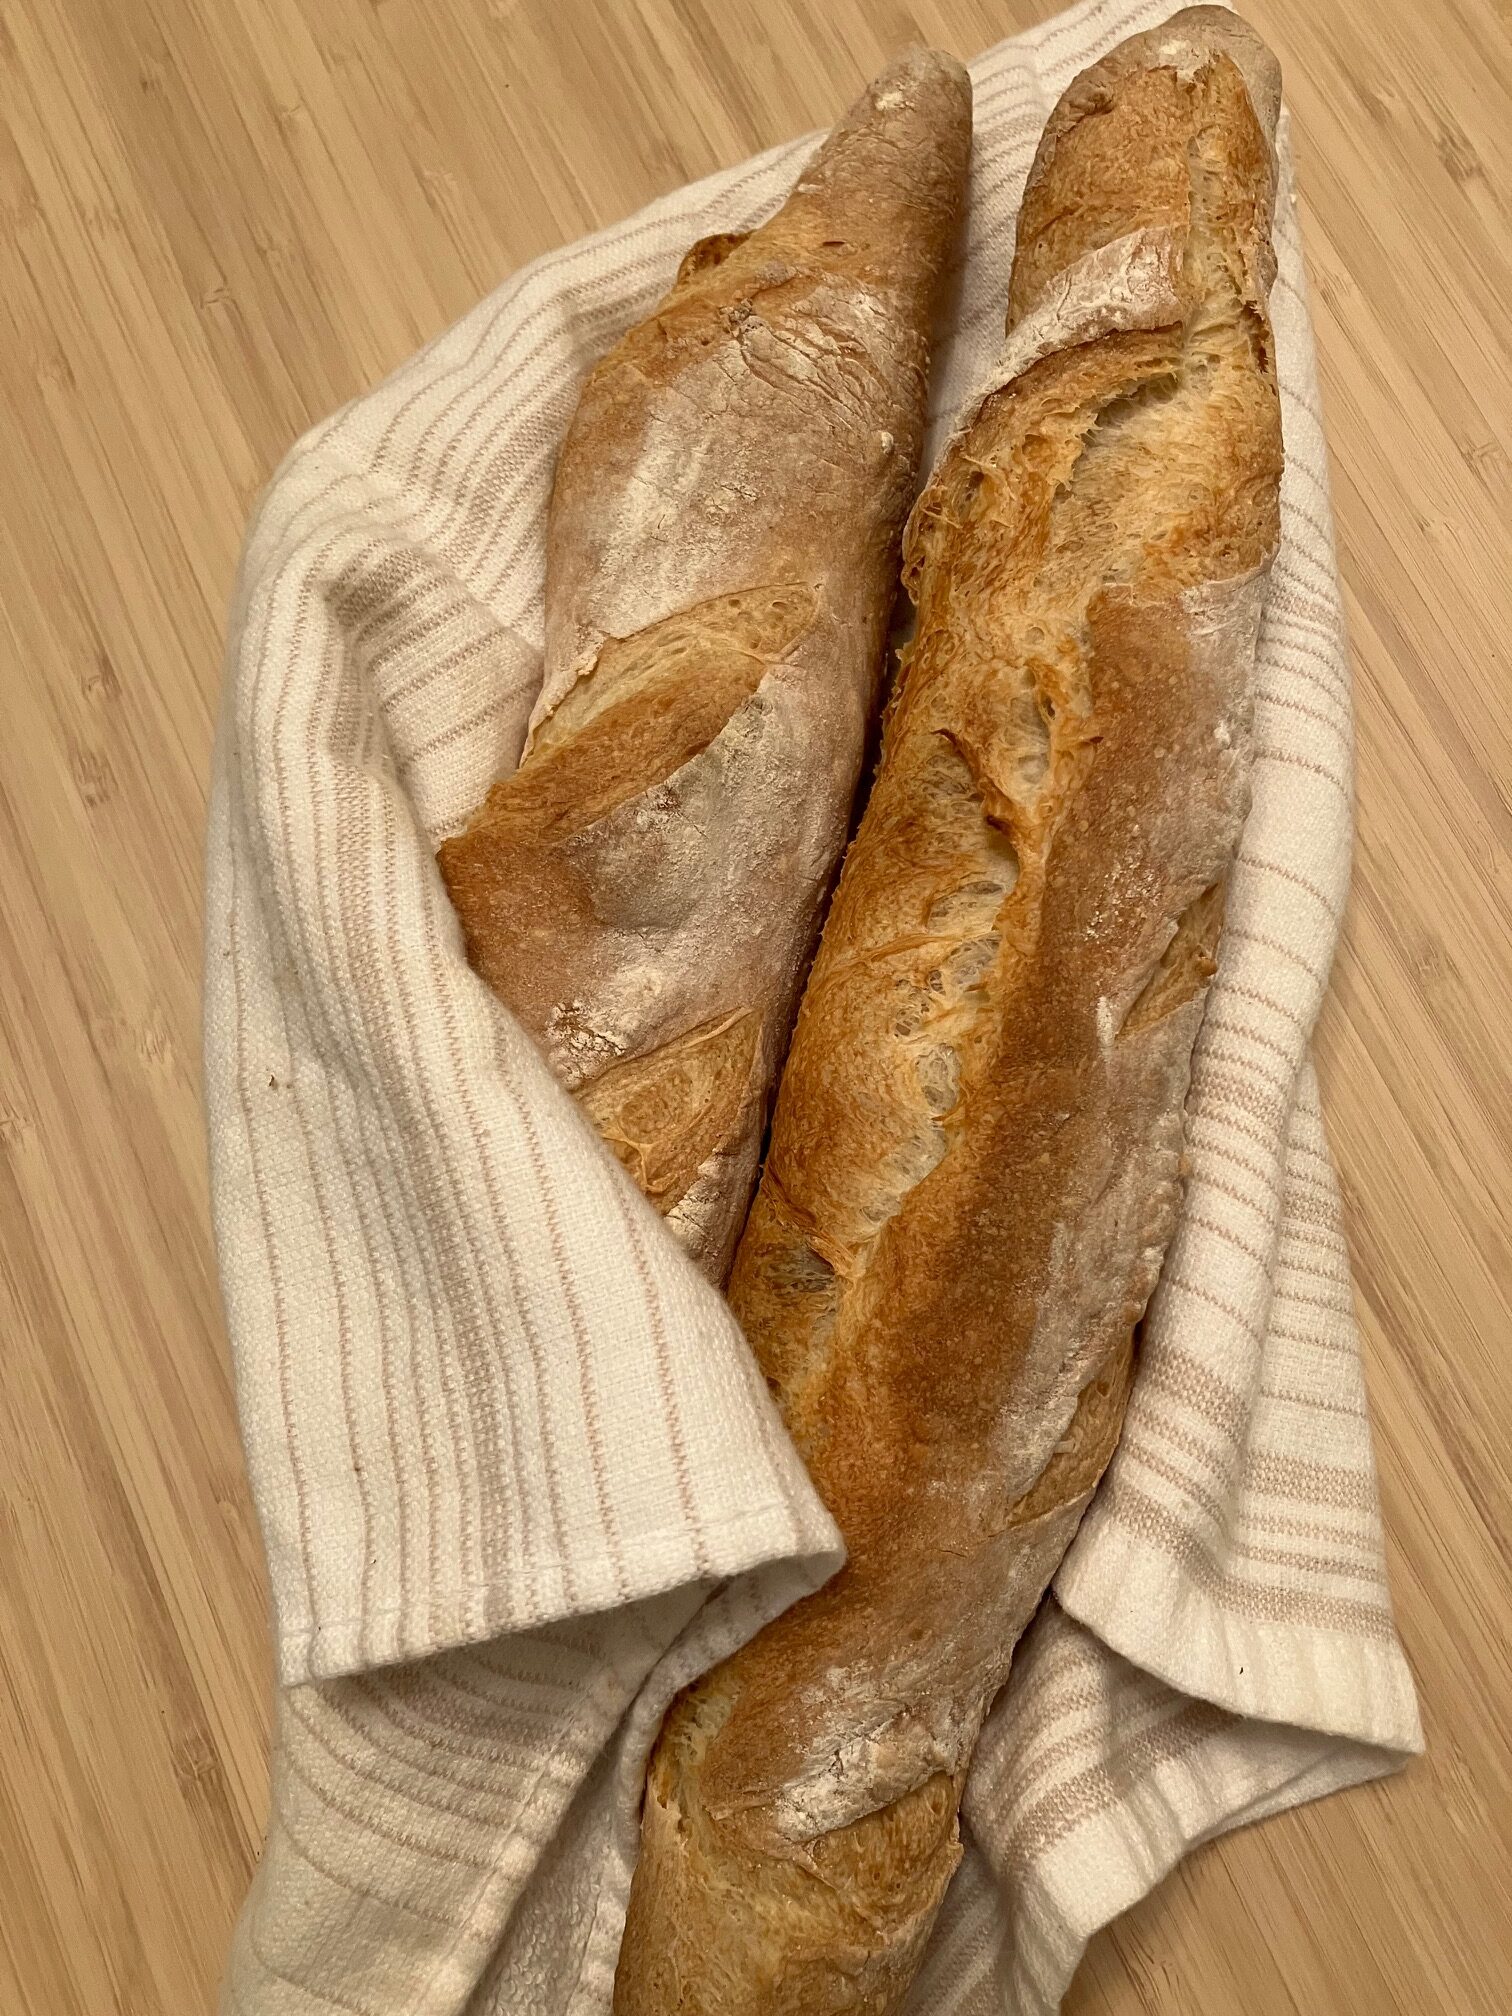
For the month of January, I committed to making baguettes once a week. Why did I decide to do this? Well, first, I’ve been having a deep longing for the baguettes you can get in France. There’s something about the flavor and crackly crust of a baguette that makes it particularly satisfying to eat. While perfect baguettes are inexpensive and easy to find in France, a good baguette is both expensive and few and far between here in the U.S. So why not see how close I can come to recreating the flavors and textures I love from home? Secondly, we are living through unprecedented times here in the U.S., and as the political situation and state of our country deteriorate, I have found some comfort and focus in the rhythm of bread-making.
So let’s begin! For all of the baguettes, I used King Arthur all purpose flour, which seemed to be a popular choice of flour for mimicking the properties of French flour used for baguettes. I also used a metal baguette pan, which was kindly gifted from a family member, so I did not use a couche or a transfer peel for any of my baguettes. I tried a range of recipes, and used many others for reference, including the Taste of Artisan, New York Times (Claire Saffitz), Patrick Ryan’s baguette masterclass, and Boulangerie Pas a Pas, among others.
Which recipe turned out the best?
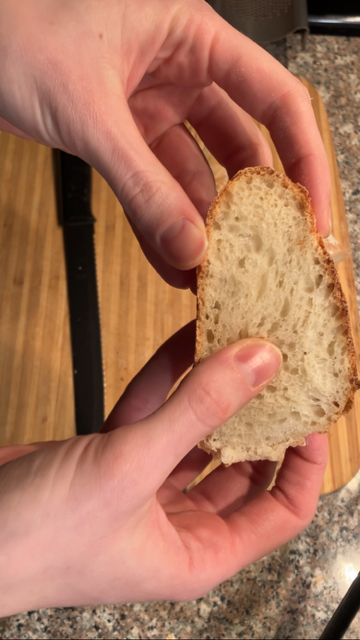
To be fair, I had never made baguettes before this month, so while I was working through different recipes and techniques, my skills and understanding of the techniques changed and improved as I went. I also did not follow all recipes exactly, so I can’t provide an in-depth review. What I did learn, however, is that if you want a well-flavored baguette, you should look for a recipe that has both 1) a poolish or a pre-fermented dough; and 2) an overnight refrigeration step of at least 12-18 hours after mixing the dough. These two techniques hands-down provided the best flavor and it was absolutely noticeable.
If you’re a beginner baguette baker, I would also avoid the temptation to find a French recipe and, instead, use one that is written for an American audience and is adapted for our ingredients. I had assumed that if I wanted to get that classic baguette flavor and texture from France that I should look for a French recipe–however, the flour they have available there is quite different from the flour we have here, and I found that I really struggled to achieve the correct hydration and texture of my dough when I followed any European recipes. They can still be great to watch for technique, though.
What tips and tricks did I use to bake the best baguette?
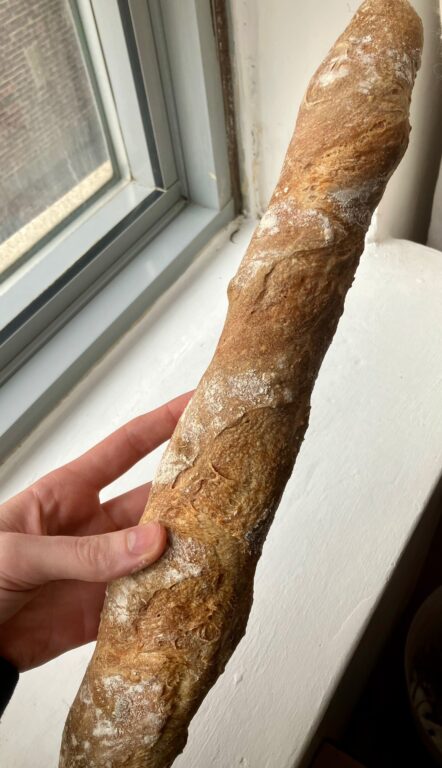
Overall, I found the NYTimes Baguette recipe from Claire Saffitz yielded my favorite baguette. After trying several other techniques and coming up short, I decided to make Claire’s recipe again, but apply a few tweaks. Below are the tweaks and tips that I found most helpful when making this recipe:
- Make the poolish work with your schedule: A downside to Claire’s original recipe is that the poolish took about 6-8 hours. Considering that the baguette process takes a couple of days, I wanted a recipe that I could start on Friday before work, pick up again Friday evening, and then bake on Saturday and/or Sunday. To better fit my work schedule, I adapted her poolish recipe to use half the quantity of yeast (1/16 tsp or a pinch), and let it sit at room temperature (70-75 degrees) for about 9-10 hours until tripled in volume. This allowed me to quickly mix up the poolish before work and leave it for most of the day.
- Pay close attention to water temperature: For both the poolish and when mixing the main dough, it’s helpful to pay close attention to the temperature of the room and adjust the water temperature accordingly. My kitchen was quite warm (about 75 degrees farenheit) so I used water that was around 68 to ultimately bring the dough to an ideal temperature. If your kitchen is closer to 65-70, you may want to use water that is in the low-mid 70s.
- Keep baguette dough in the fridge for up to 36 hours: I found that I got incredible flavor from my baguettes when I left some of the dough in the fridge for an extra night. If you start your poolish on Friday morning and mix up the dough on Friday night, you can make 1-2 baguettes on Saturday afternoon or evening and use up the remaining dough on Sunday morning. Or if you simply don’t have the time, don’t sweat it if you can’t make any of the baguettes until Sunday morning.
- When shaping and pre-shaping, use a silicone mat: This is certainly not required, but using my silicone baking mat was very helpful when working with the dough. This recipe uses a very wet, sticky dough, which I found slightly difficult to work with on my regular cutting board. When I lightly floured and used my silicone mat, however, I had much less sticking and found it easier to work with.
- If you’re struggling with Claire’s shaping technique, use another method: I noticed when watching Boulangerie Pas a Pas, that he used a very similar shaping technique as Claire but slightly more simple. In Claire’s recipe, you turn about 60% of the dough up and over itself and seal it. Then you bring up the bottom portion to meet and and seal, and then you fold one portion over the other and seal with the heel of your palm. When using the other technique, you simply fold about 60% of the dough up and over itself and then do the final fold along that one seam. I found that my baguettes came out pretty much identical regardless of which technique I used, so if Claire’s feels a bit fussy, feel free to take out that one middle step and simplify!
- When using a baguette pan, place your shaped baguettes seam side down: Most of the recipes are written for a couche, where you are instructed to let the baguettes rise seam side up and then they are flipped with a peel onto the baking stone. I tried to do this with the baguette pan and ended up partially deflating and deforming the shape of my baguettes in the process of doing the rotation. To avoid having to handle the dough after the final shaping, for the baguette pan, I found it worked best to place them seam side down and then straight into the oven after their final proof.
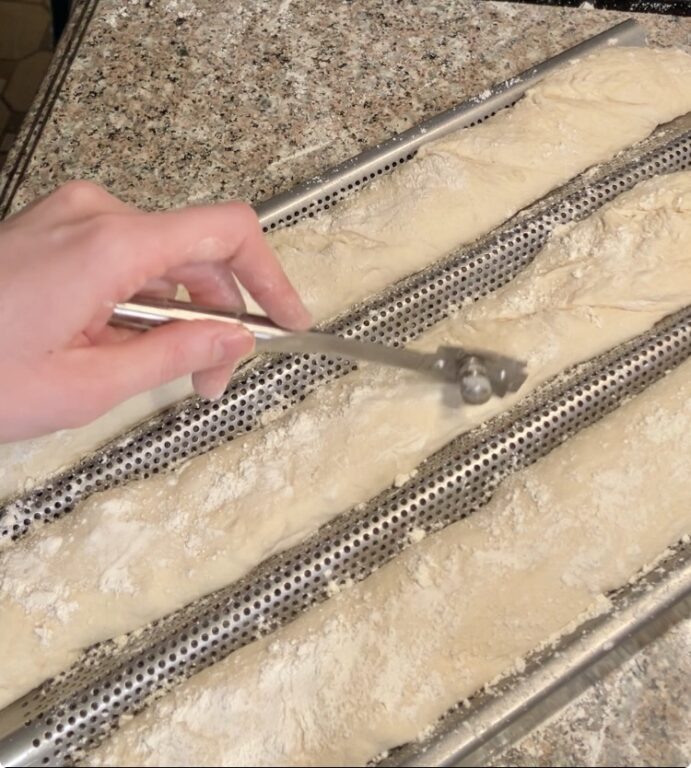
- Score baguettes using a razor blade or lame: I’m still working on my scoring techniques but I found that using a knife was not nearly sharp enough and yielded sad-looking baguettes that did not expand sufficiently. To get that lovely expansion and puff in the oven, aim for a very sharp, relatively swift cut using either a clean razor blade or a bread lame.
- Store leftover baguettes whole in the freezer: After making so many baguettes, I found myself researching storage techniques to manage all of the leftovers. Baguettes are best on the day that they are made. If there are any baguettes that you won’t be cutting into on the first day, wrap them tightly in aluminum foil individually and pop them in the freezer. When you’d like a fresh baguette, preheat the oven to 400F and remove the baguette from the freezer. Remove the foil and generously spritz the baguette with water. Let it bake on a baking stone or baguette pan for 10 minutes until crisp.
