These earl grey latte buns are my all-time favorite cinnamon roll variation–super tender, pillowy, not too sweet, and a tea lover’s dream. On cold, rainy afternoons in college I would often treat myself to a London Fog, a drink that’s both bright from the Earl Grey tea and warm from the slightly sweetened frothed milk and dash of vanilla. These buns capture the classic flavors of a London Fog and are the epitome of comfort. Earl Grey tea is incorporated into every component, from the dough, to the filling to the icing. The subtle boost of energy from the tea is also great to get you out of an afternoon slump.
The recipe for the dough is inspired by King Arthur Baking’s Perfectly Pillowy Cinnamon Rolls, which use the tangzhong method. A small amount of flour from the recipe is precooked with milk to form a paste. This helps the flour absorb more liquid, leading to a beautifully soft bun that stays moist for a couple of days. The recipe may look a bit long but I encourage you to give it a try. The process of working with this smooth and pillowy dough is therapeutic from start to finish and the end product is more than worth the effort.
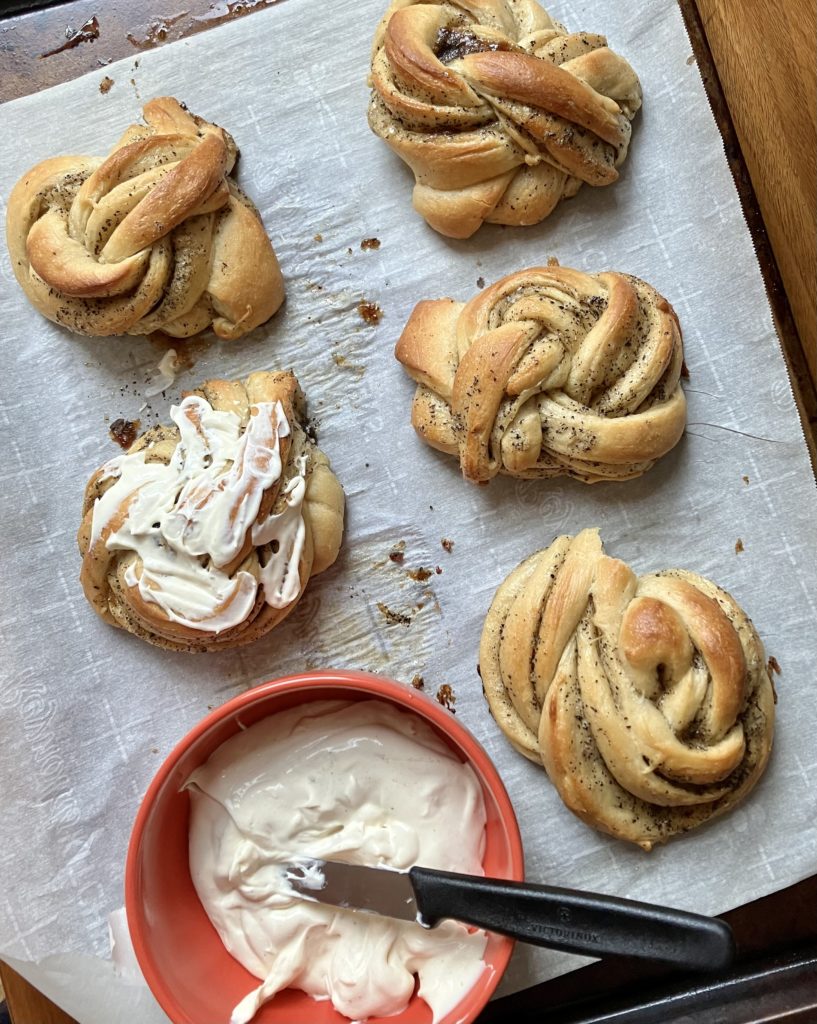
The rolls are fantastic on their own but even more reminiscent of a latte when you add the earl grey mascarpone icing on top. The icing is only mildly sweet, primarily offering a smooth and fluffy frothed milk experience. This might be a controversial opinion but I would take these buns over cinnamon rolls any day. Once you give these a try, you’ll never go back.

Earl Grey Latte Buns
Difficulty: Weekend baking project8
buns3
hours18
minutesThis recipe mimics the flavors of a London Fog. Earl grey tea is infused into all components, and the vanilla and milk add a lovely warmth and softness to the bun. The frosting is slightly sweet and beautifully creamy, and while the buns are delicious without it, the topping completes the full latte effect.
Ingredients
- Tangzhong
113g (1/2 cup) whole milk, steeped with earl grey
24g (3T) bread flour (or all purpose flour)
- Dough
113g (1/2 cup) milk, steeped with earl grey
1 egg, room temperature
320g (2 2/3 cup) bread flour (or all purpose flour)
1 tsp morton kosher salt salt (1 1/4 if using diamond crystal kosher salt)
25g (2 Tbsp) granulated sugar
2 1/4 tsp (1 packet) instant yeast
4 Tbsp unsalted butter, softened
1/2 tsp vanilla bean paste or vanilla extract
- Filling
2 tsp (approx 2 bags) earl grey tea leaves
4 Tbsp unsalted butter, softened
100g (1/2 cup, tightly packed) light brown sugar
- Frosting
4 oz (1/2 cup) cold mascarpone cheese
2 Tbsp milk, steeped with earl grey
2 Tbsp confectioners’ sugar, sifted
1/2 tsp vanilla bean paste or vanilla extract
Instructions
- Prepare the milk tea
- Add approximately 1.5 cups (360 grams) of milk to a saucepan. Add in two earl grey tea bags (about 2 tsp of tea).
- Heat over medium low heat, swirling occasionally, until the milk begins to steam and slightly simmer (not boil). Turn off the heat, cover the pot and steep for 10 minutes.
- Remove the lid and using the back of a spoon, press the tea bags against the side of the saucepan to extract the rest of their flavor. Remove the tea leaves and set the milk aside. If not using right away, place steeped milk in the refrigerator.
- Make the dough
- Prepare the tangzhong. In the same saucepan, mix in 113g (1/2 cup) of the steeped earl grey milk and 3T of flour. Cook on medium low heat, whisking constantly until there are no lumps, the mixture thickens into a paste and the spoon or whisk leaves trails on the bottom of the pan.
- Immediately remove from the heat and transfer tangzhong to the bottom of a large mixing bowl to prevent it from continuing to cook.
- To the bowl with the tangzhong, whisk in 113g (1/2 cup) of steeped earl grey milk. Make sure the mixture is not too hot and then whisk in the egg and vanilla. Using a wooden spoon or spatula, stir in the flour (320g), salt, sugar, and yeast.
- Mix together until you have a tacky dough. Begin kneading the dough, adding in 1T of butter at a time, until all butter is fully incorporated and the ball of dough feels very smooth (10-15 minutes). It will still feel slightly moist but should not be fully tacky or sticky. If the dough if too tacky to work with, flour your hands or add small amounts of flour at a time to the dough. If you have a stand mixture, feel free to use that here instead, and use it for closer to 10-12 minutes.
- Form dough into a ball, place in the bowl, and cover with a towel or plastic wrap. Let rise for 60 to 90 minutes until the dough has risen to between 1.5 and 2 times its original size. Timing will vary based on the temperature of your kitchen.
- Fill and shape the buns
- While the dough is rising, prepare the filling. In a small bowl, blend up the softened butter with a fork so it resembles more of a paste than a block. Stir in the tea leaves and brown sugar.
- Place the dough on a very lightly floured surface and roughly pat down into a rectangle with your hands.
- Gently roll the dough into a 10″ x 18″ rectangle, using your hands as needed to help form relatively sharp corners.
- Using a knife or spatula, spread the filling onto the dough as evenly as possible. Leave 6 inches of the long end without any filling (so you’re filling a 10 x 12 space on the rectangle–completely fill this smaller space all the way to the edges).
- On the long side, place a small mark with your knife at 6″ and 12″ and then use that to guide you as you fold into third like an envelope. Fold the unfilled portion of the dough over the middle and the other side on top of that.
- Using your rolling pin, gently roll out your folded dough to be a just a little bit wider (not longer).
- Cut 3cm strips from the long edge of the dough (you should have about 8 strips-9 strips in total)
- For each strip, cut a line down the middle, leaving a little room at the top for the pieces to hold together, while the remainder is split into two.
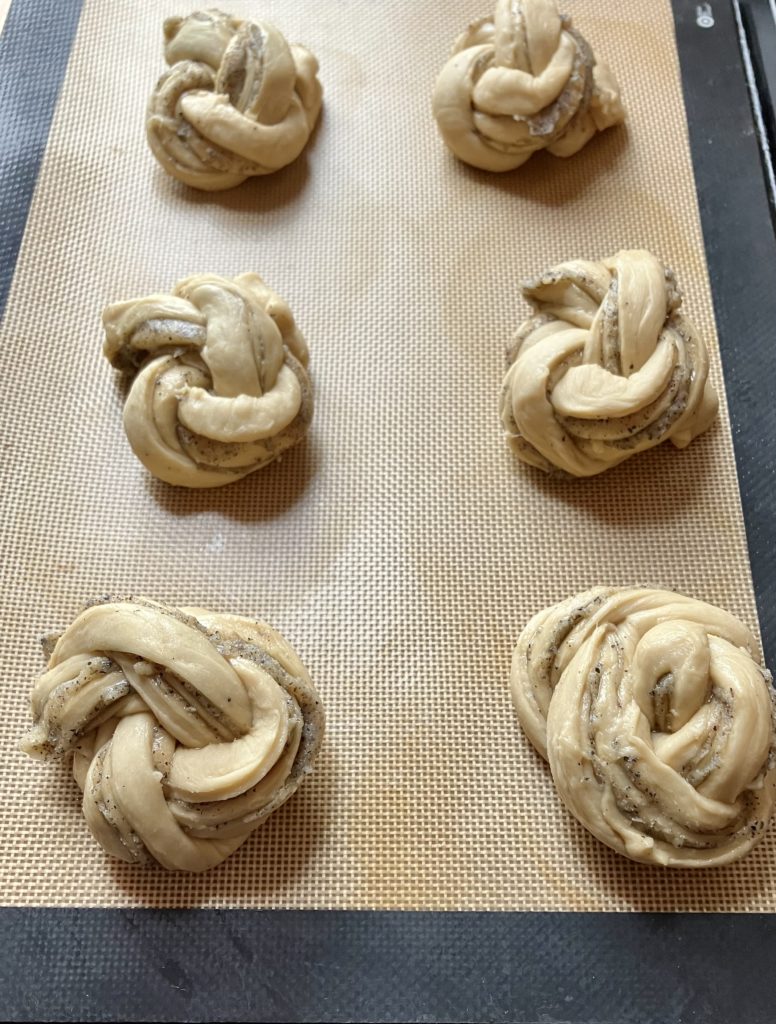
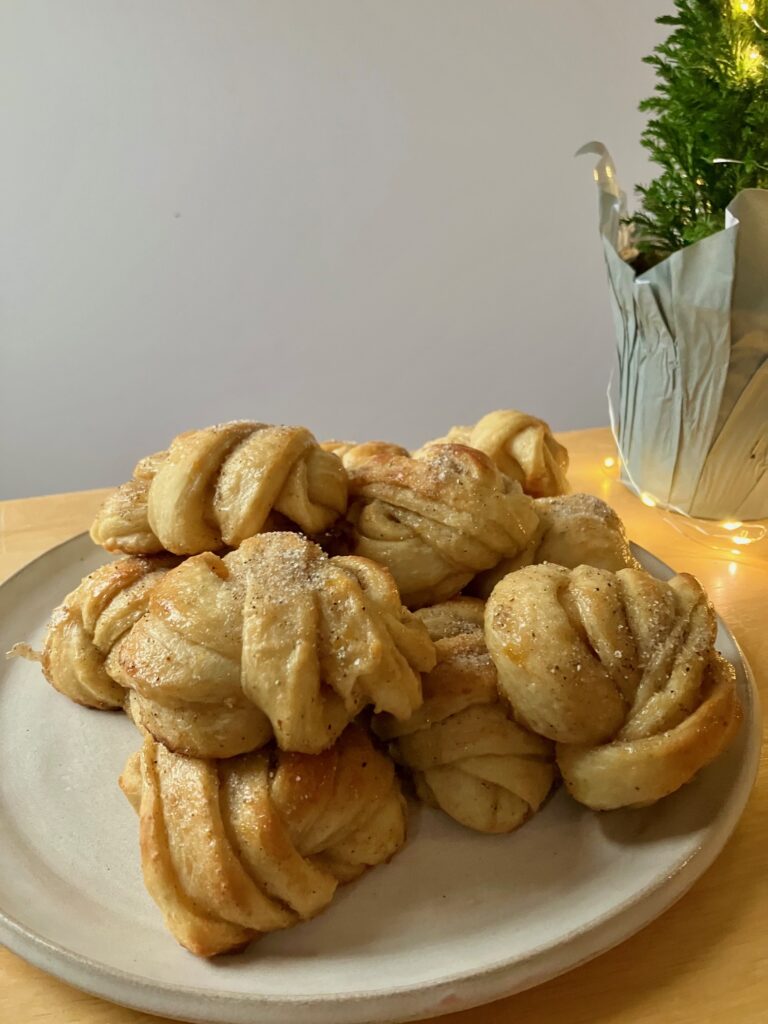
- Cross the two strands over each other a few times, like a two-stranded braid, until you reach the bottom of the strands. Then circle it around, crossing the bottom over the top (like a wreath) so they overlap and then tuck both small ends underneath the bun. Repeat with the remaining buns.
- Place completed buns on a parchment-lined baking sheet, spreading them apart. Cover very loosely with a towel or plastic wrap and let rest for 30 minutes before baking.
- Bake and frost the buns
- Preheat the oven to 375 F while the buns rest.
- After their 30 minute rest, brush the buns lightly with steeped earl grey milk and bake for about 15-20 minutes until golden brown.
- While the buns are cooling, prepare the frosting. Place all frosting ingredients in a bowl and using an electric mixer beat on low speed until smooth, creamy, and a little fluffy. You should notice slight peaks forming–this happens quite quickly. Be careful–if you mix to vigorously at a high speed or overmix, the mascarpone will curdle. When in doubt, stop to check the consistency before deciding to keep beating.
- When the buns are fully cooled, use a knife to frost them. I recommend frosting them right before eating. Remaining frosting can be refrigerated until ready to use. Store buns at room temperature in an airtight container or tightly covered in plastic wrap. Unfrosted buns also freeze very well.
Notes
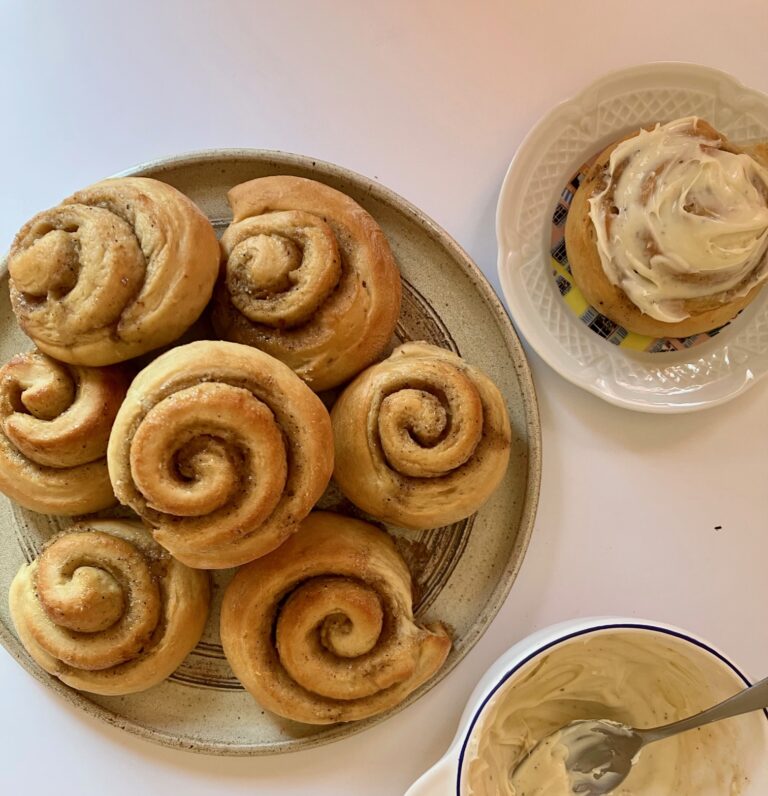
- Feel free to shape these just like regular cinnamon rolls if you prefer. In Step 4, just cover the whole 10 x 18 rectangle with filling, leaving 1/2 inch empty on the long side. Roll on the long side, starting with the part that is fully covered in filling. Cut 1.5-2″ slices from the log, using a very sharp knife or dental floss. Skip to Step 10 for the resting stage.
- The buns may leak while baking. This is okay and will create some caramelization at the bottom. Using softened butter instead of melted butter should help with this but some leakage is unavoidable.
4 responses to ““London Fog” Earl Grey Latte Buns”
-
I made these for my family for breakfast this morning and they were absolutely wonderful! Thank you for the delicious recipe.
-
This recipe is one of my favorites–I’m so glad you and your family enjoyed it too!
-
-
Best recipe I have ever tasted!
-
I’m so glad you liked it!
-




I made these for my family for breakfast this morning and they were absolutely wonderful! Thank you for the delicious recipe.
This recipe is one of my favorites–I’m so glad you and your family enjoyed it too!
Best recipe I have ever tasted!
I’m so glad you liked it!